Hello there, warm Welcome :-) I am trying to share the knowledge and cool things I learnt during my QA journey!! I hope you find something interesting here :-)
A simple way to view and segregate the complex JSON Hello Peeps, Welcome back to another blog 😉. I hope everything is going well for you. Many people prefer the JSON format for APIs, databases, and other applications for a variety of reasons. Some JSON requests or responses are simple and only contain a few objects. On numerous occasions, you may be required to handle a complex response. I wrote a blog about parsing complex responses before using https://jsonpathfinder.com/ In most cases, however, you will need to further investigate your JSON payload or responses for various reasons and analytical purposes. Are you a visual learner or a fan of mind maps? Then you will undoubtedly fall in love with this tool ❤️ JSON Crack I recently came across this tool and found it’s worth sharing with the community 👓 Once you land on the home page, click “GO TO EDITOR” Now you will see a sample JSON beatified and visualized. To visualize it, clear the left side pane and paste your JSON. For in...
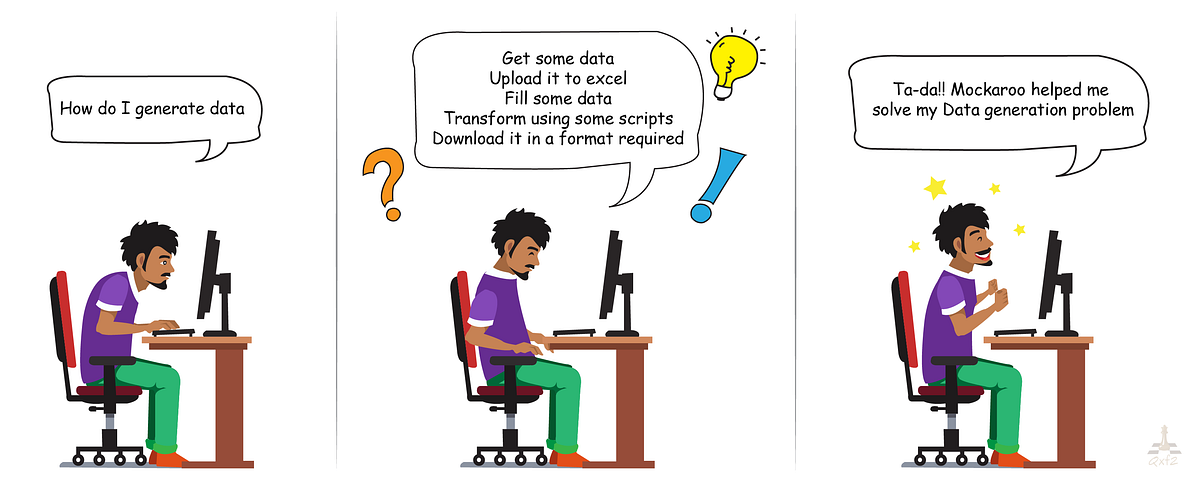
How to create realistic bulk data for Tests? Mockaroo - A boon for Test Data creation!!
Mockaroo helps in creating realistic and bulk Test data in a jiffy!!
This helps you to create the realistic Test data, and also number of data requests in just a single click.
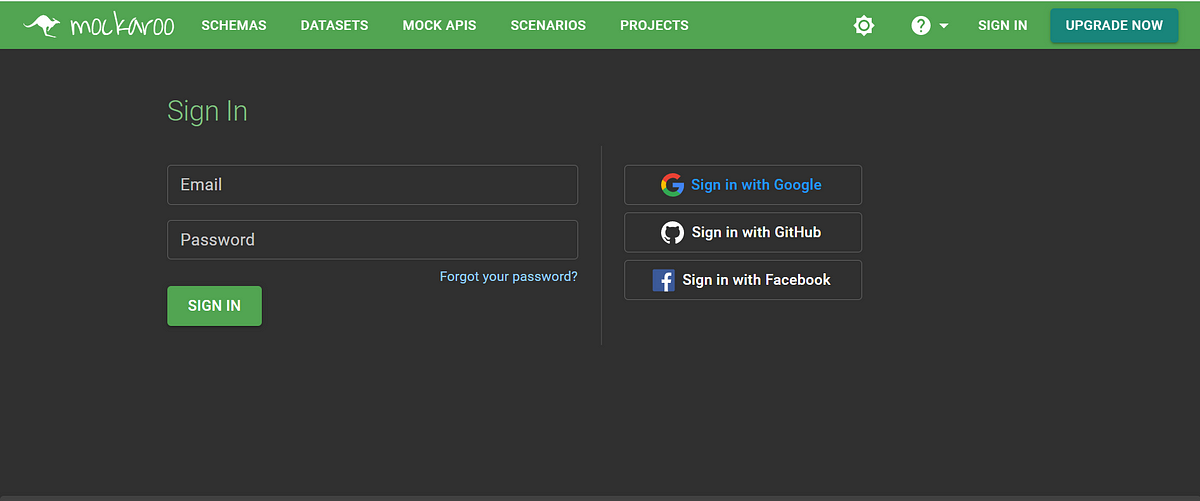
Step 1: Create your account:
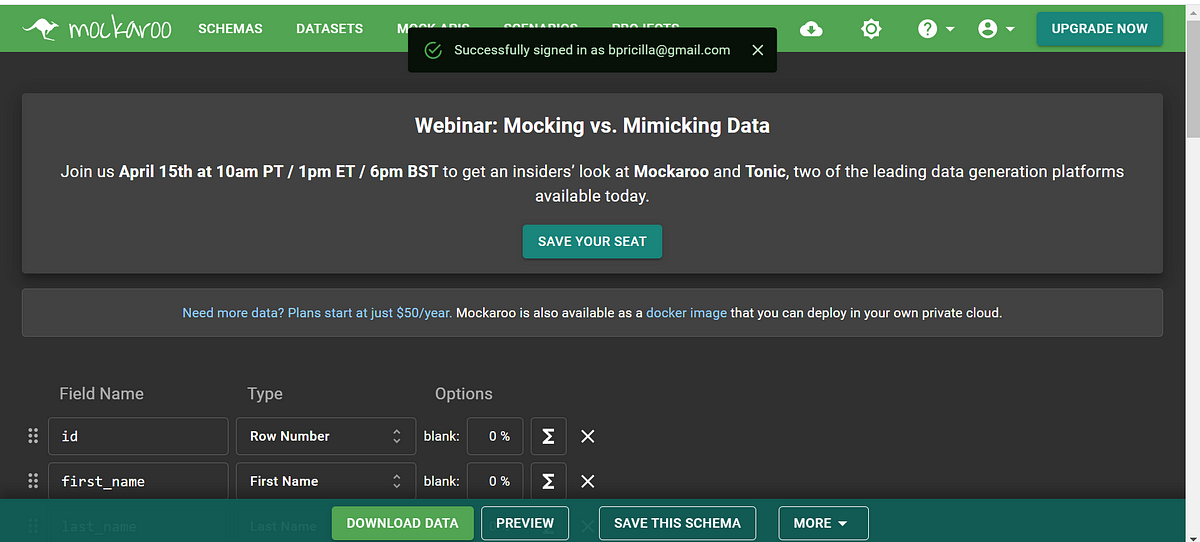
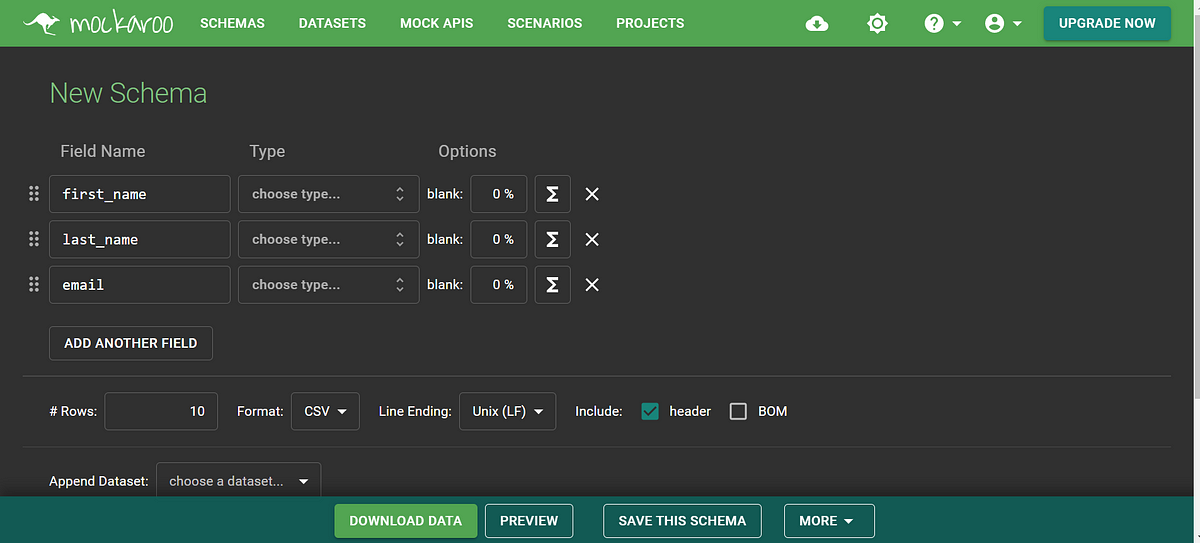
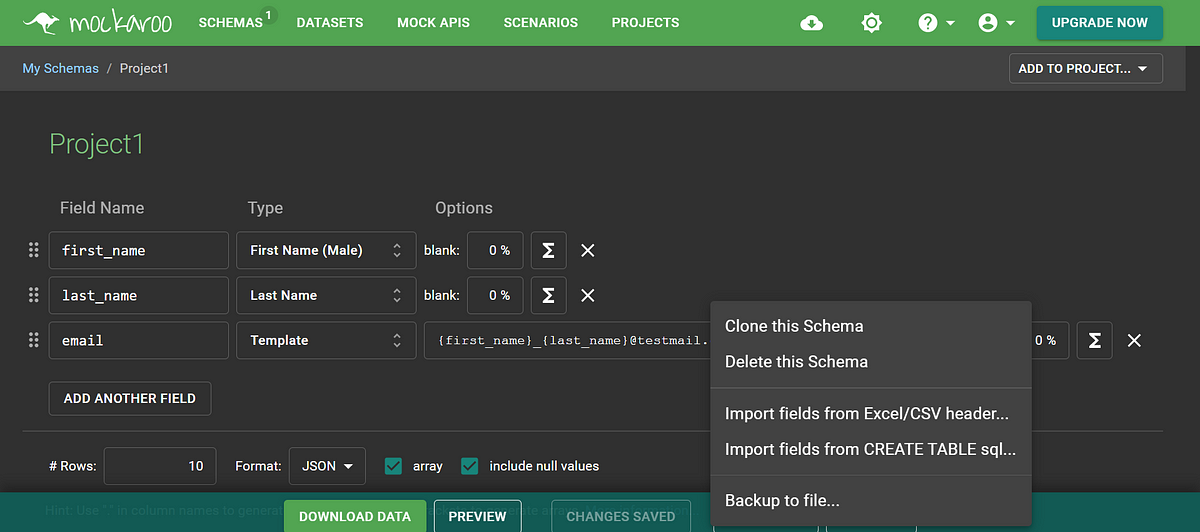
Step 2: Navigate to “SCHEMAS” tab, to create a Schema based on your Test Data requirement. And you can create different schemas and save it based on your projects/test data requirement.
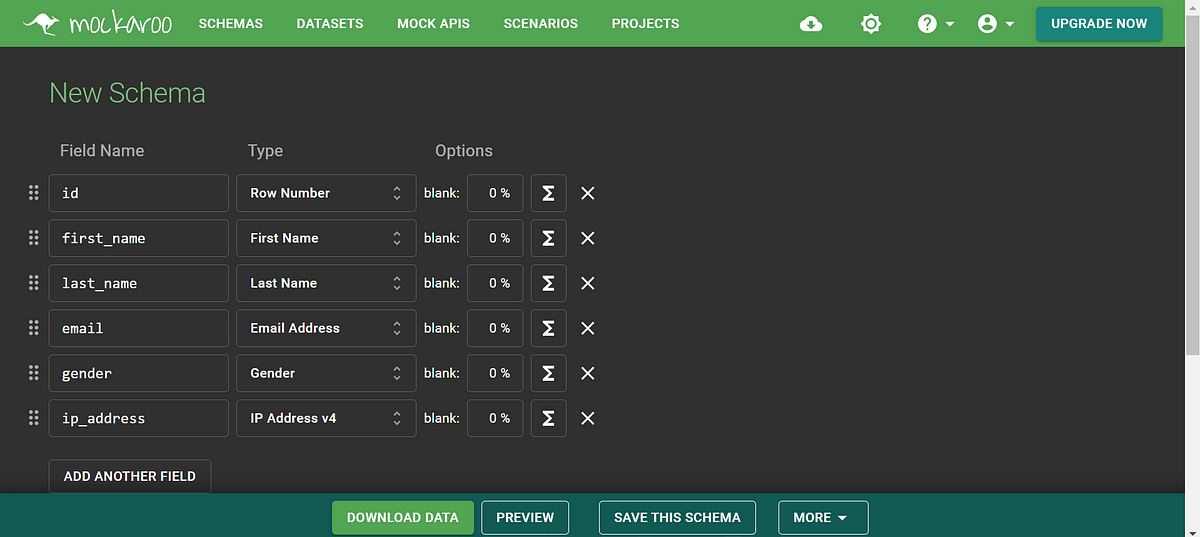
Once you click “Create a Schema”, the default fields are listed as below:
Now you can start editing these fields based on the request for your attribute names.
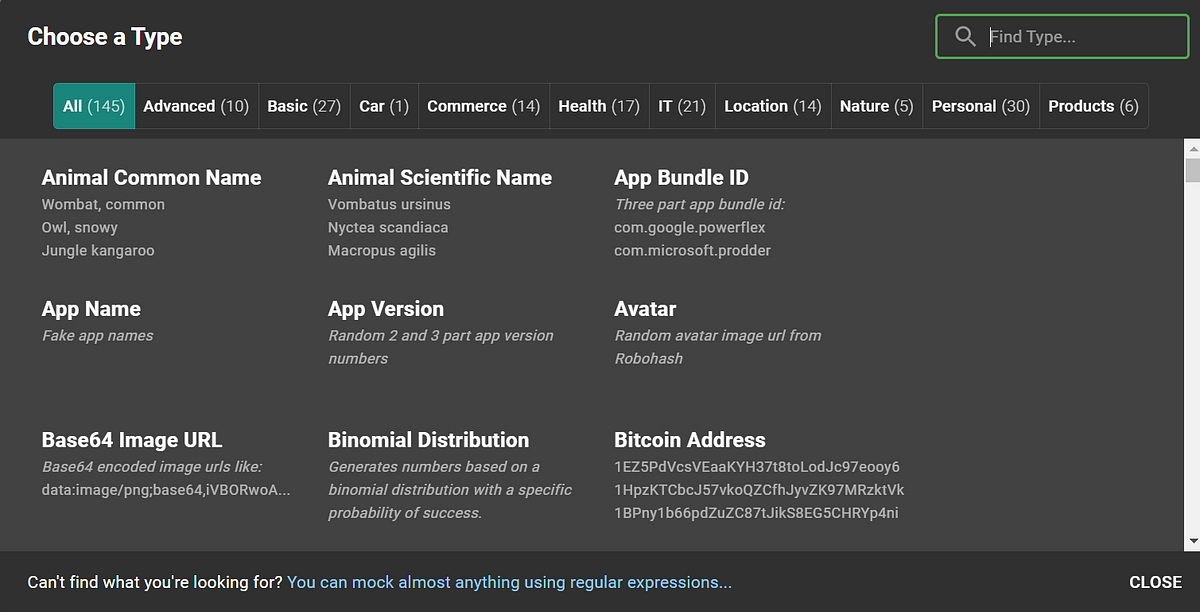
You can see the “All” options for the values:
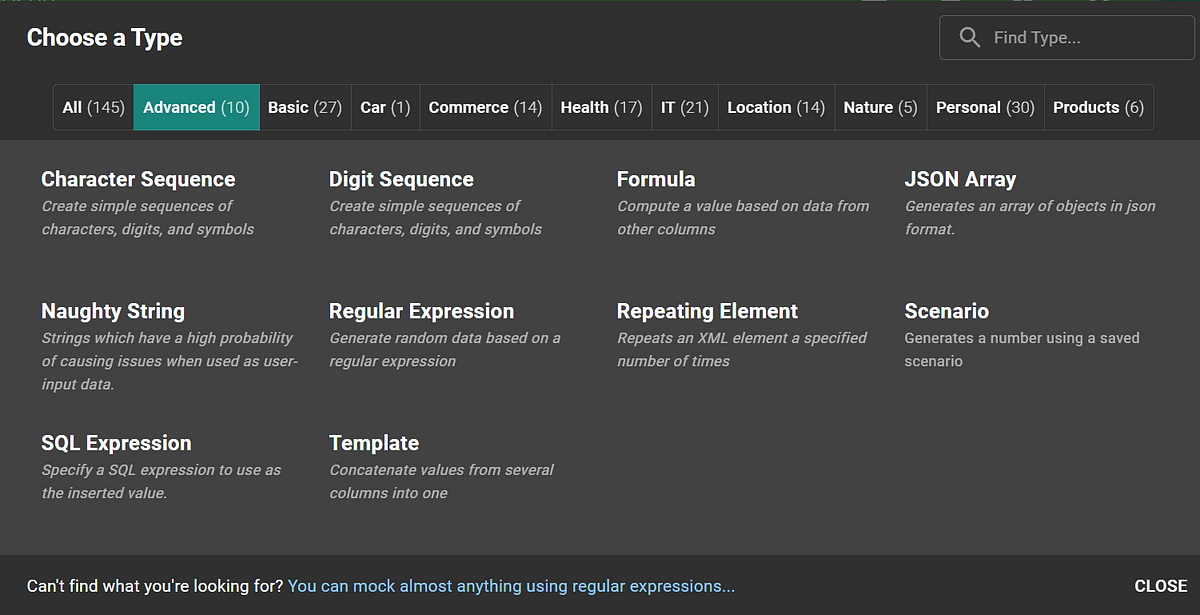
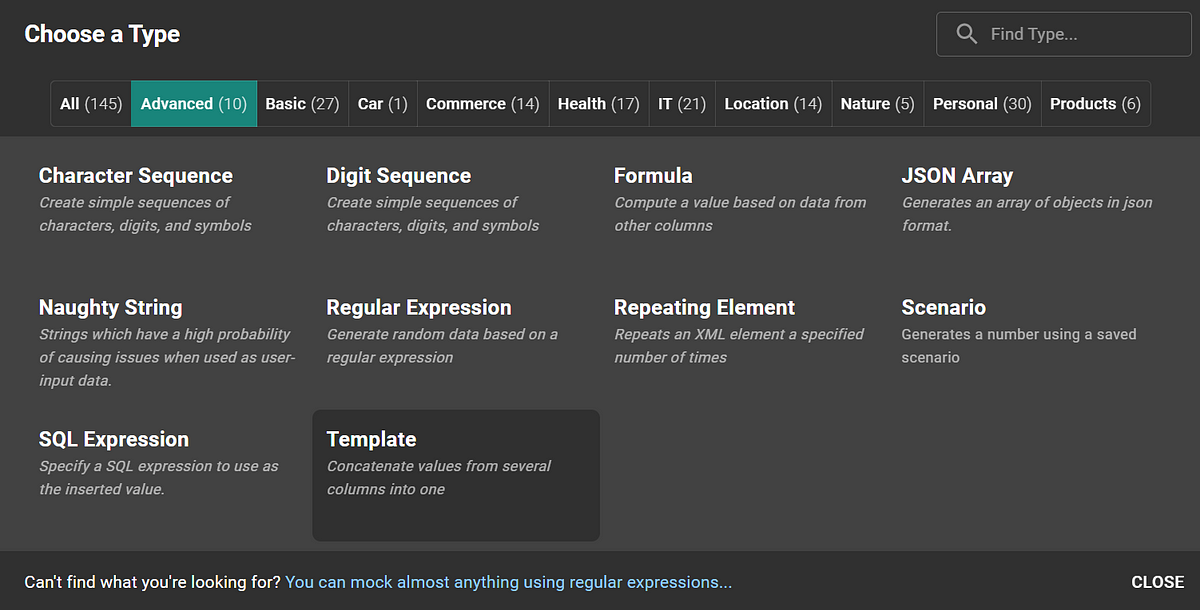
Under “Advanced” tab,
You can use the default options/values provided, else select “Custom” and use formulas.
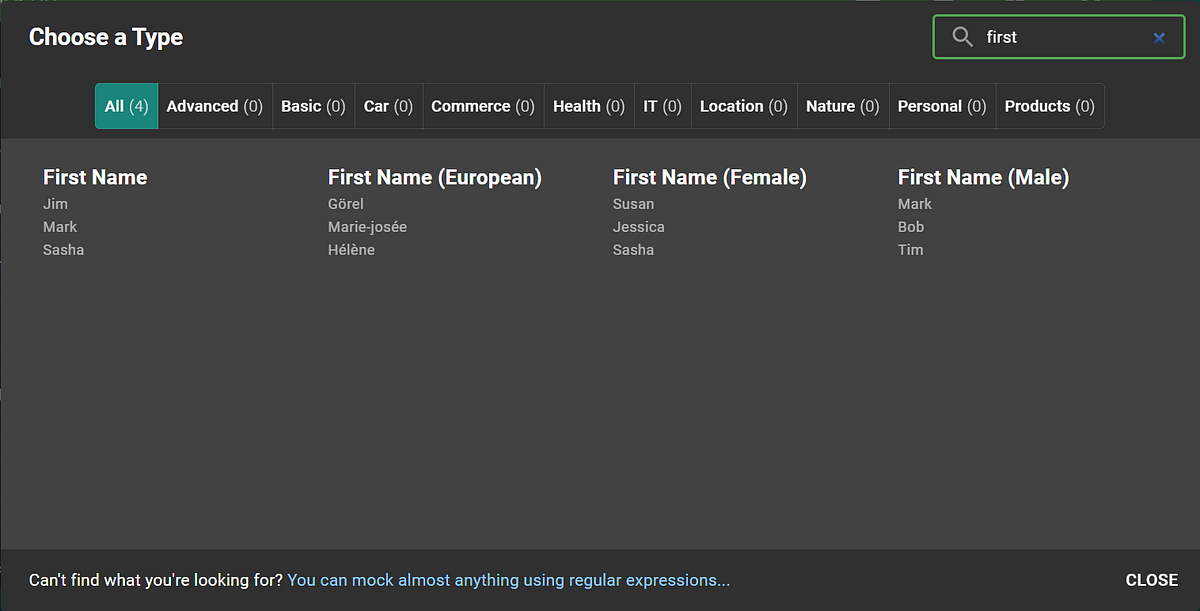
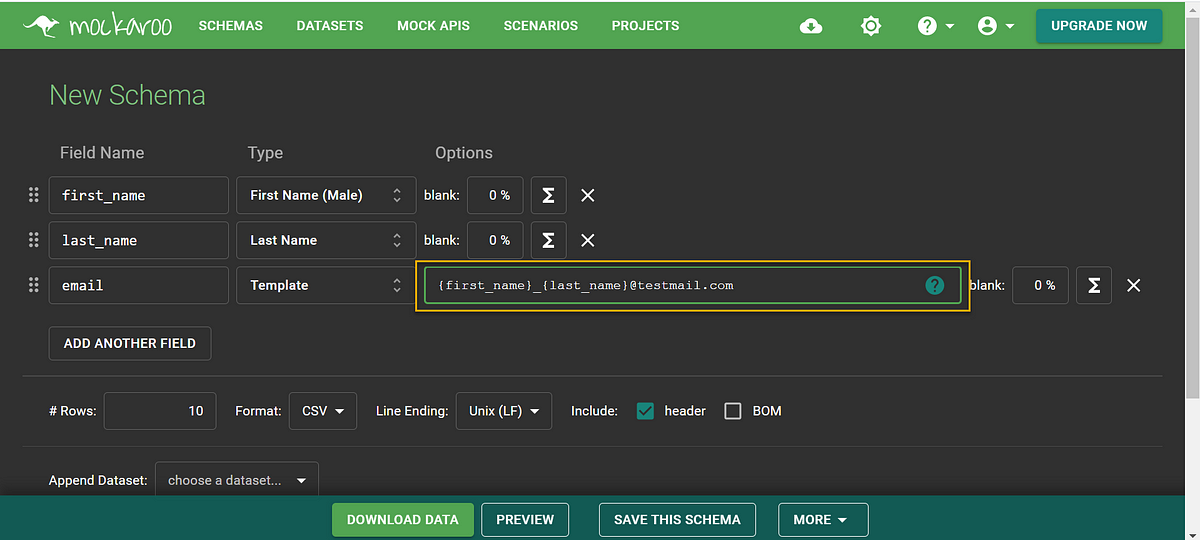
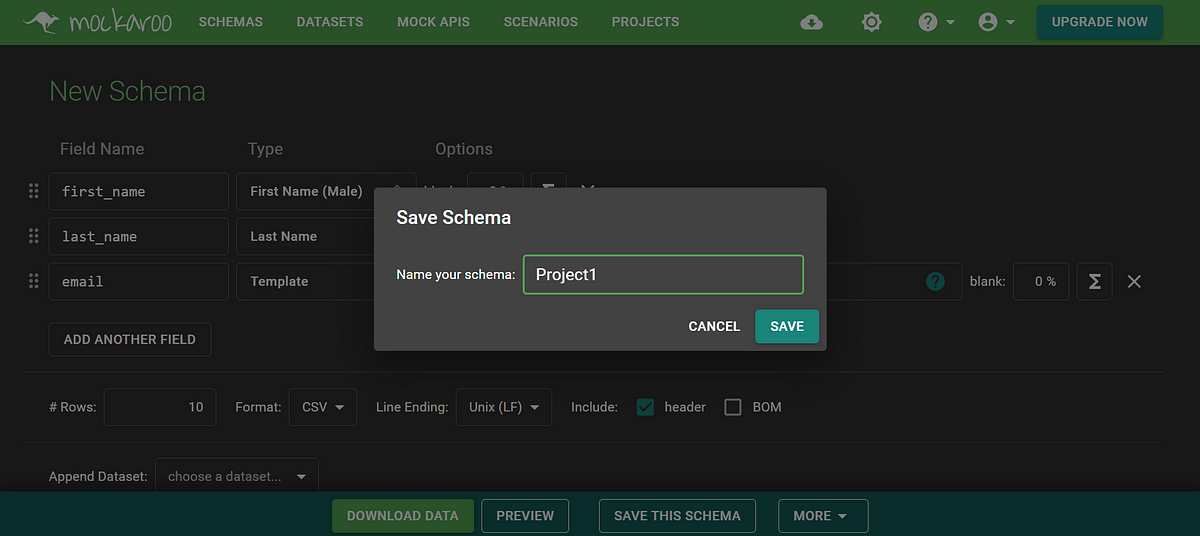
For example, I need to create test data with three fields: First name, Last name and the email ID related to first name with common domain.
For the first field the if I search as “first” below are the options listed:
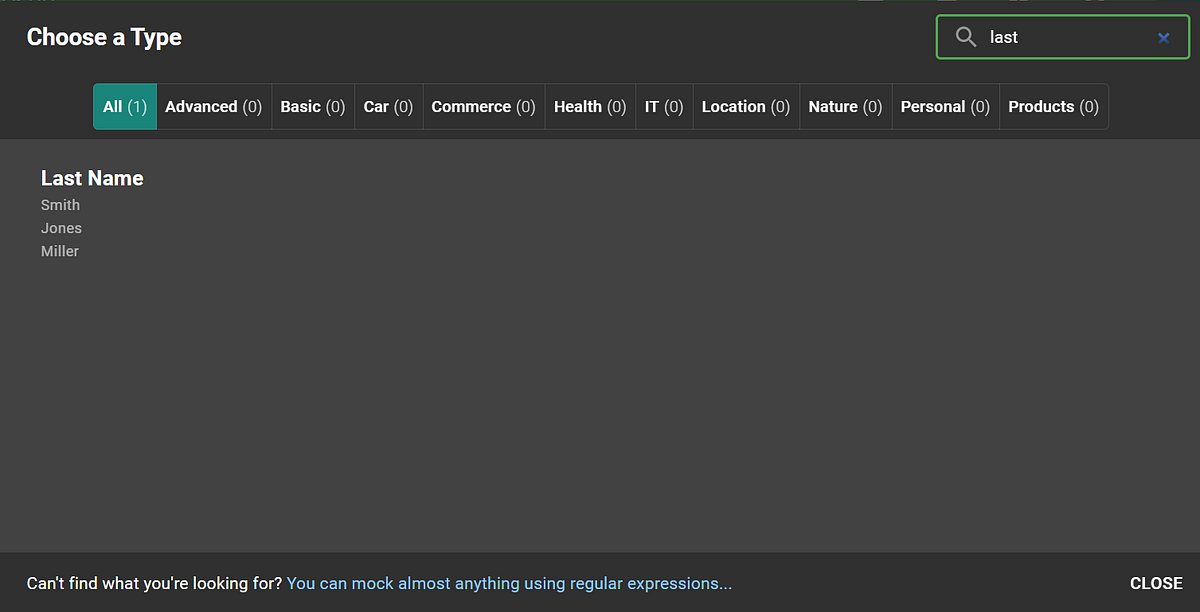
Same way for last name:
Now we got the dynamic values to be generated for the first and last names. Now the email should be populated using the first and last names.
Select “Template” from the “Advance” tab:
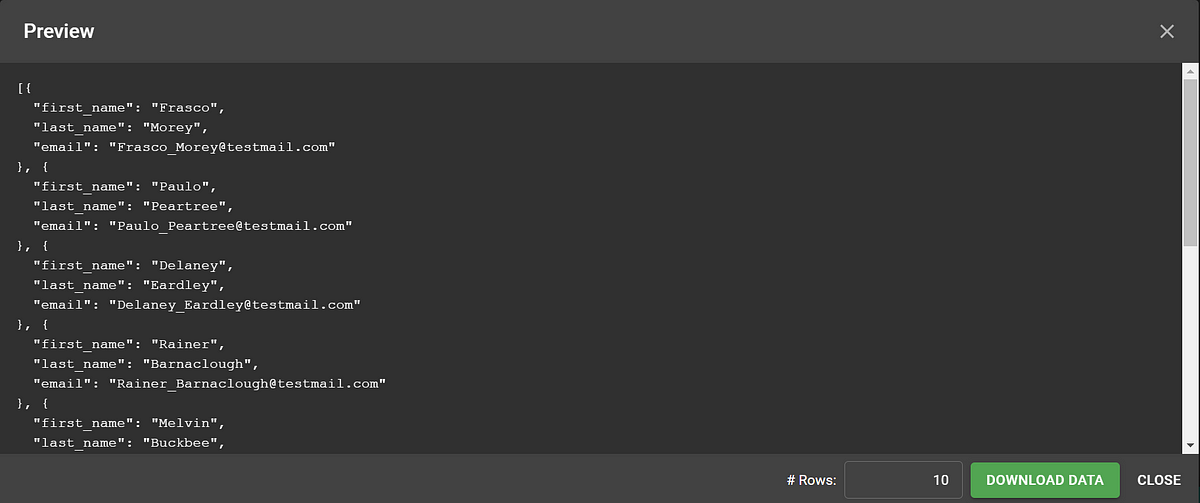
You can check the values are generated populated correctly using the “PREVIEW” option at the bottom.
Great!! So I could confirm if this is my expected data.
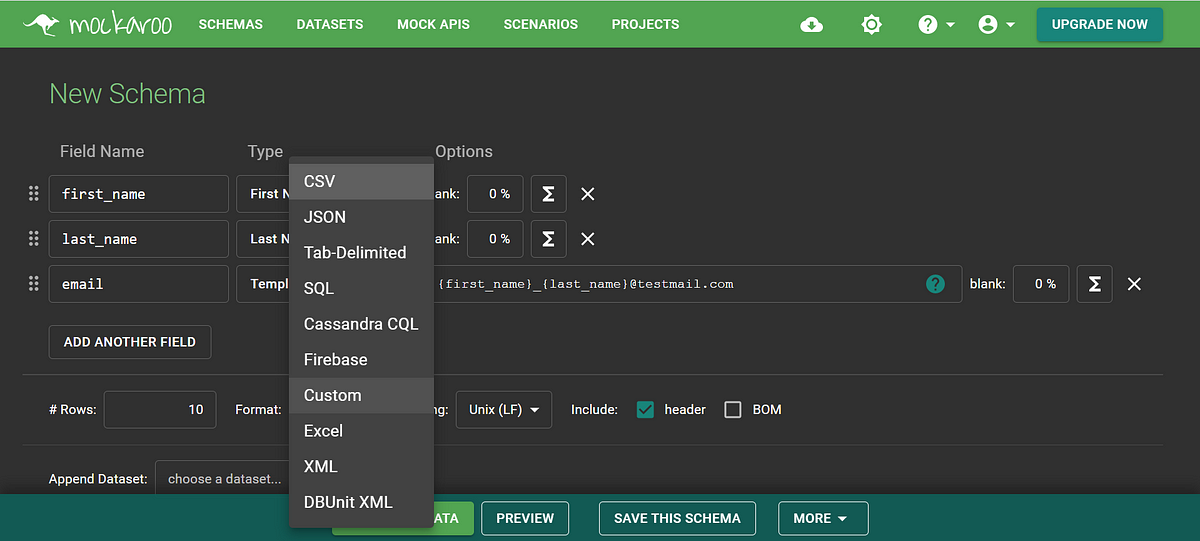
Step 3: Now I can generate ’N’ of rows based on my requirement. You can select the format as required and click “Download Data”.
Also you have an option to save the “Schema” for your project usage. In some cases you will have plenty of fields. You might need to spend some time only once and then you can create your data sooper fast!!
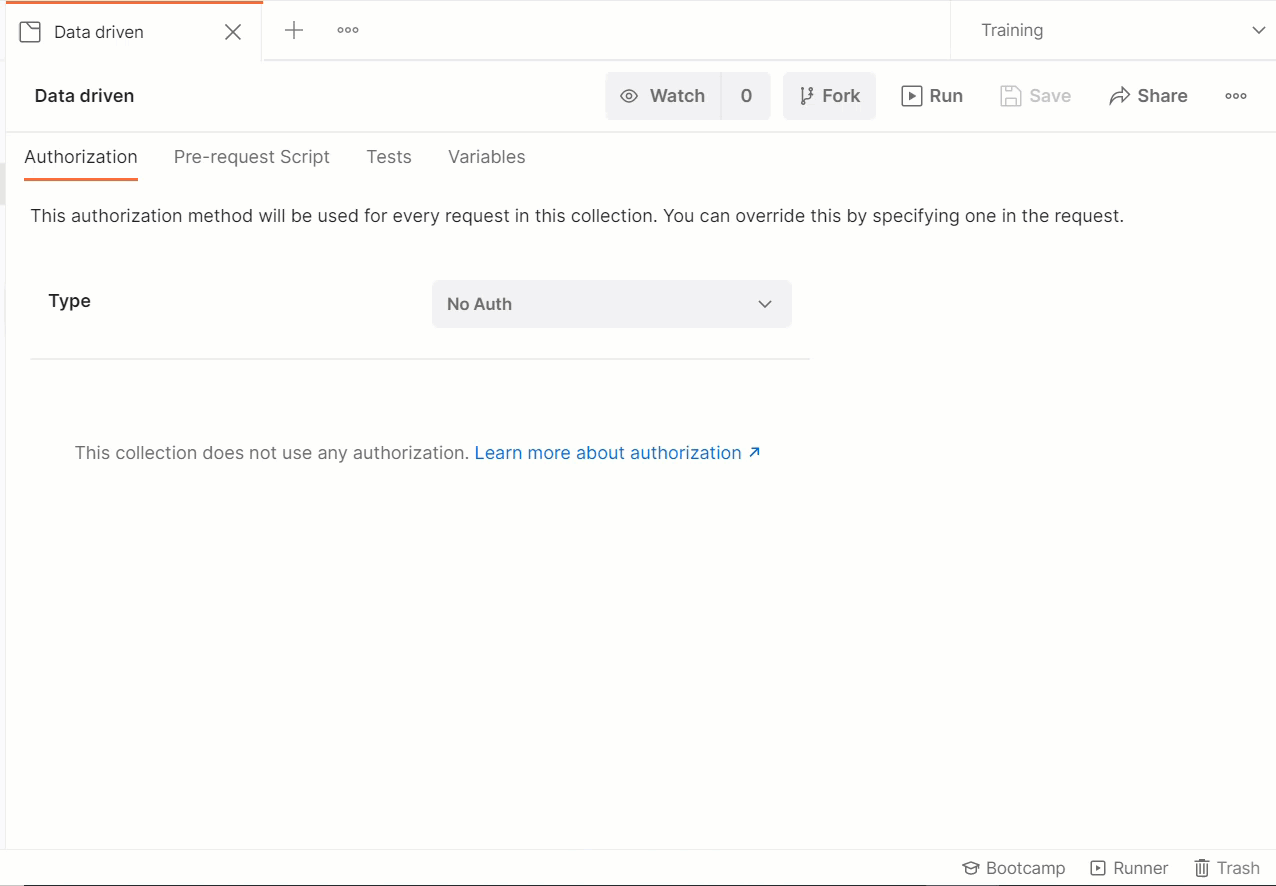
Mostly I will be using the Test data for my API Testing using Postman, so I am saving it as “JSON”.
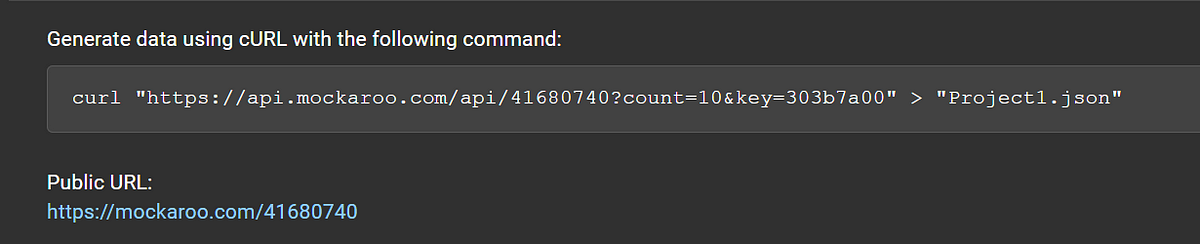
Step 3: You can either use the file for Data driven approach in Postman or you can copy the API link generated below your schema and use that link in Postman as GET request to hit the get new data in run-time.
Create a new request in “Postman”
You can change the count of records to be generated using the count parameter.
Now you can add these requests along with your existing requests for Test data purposes.
You have few other options as well:
Also you can share your schema to your Teammates by using “Public URL” option.
I hope this will be useful to you guys!! I am predominantly using this for Test Data creation in API Testing. But this can accommodate many other requests. Please feel free to play around this. You will definitely love this!!


Comments
Post a Comment